Experiment 1:
With the new Power Rangers movie coming out near the end of march, I gained some influence from one of the scenes in the trailer.
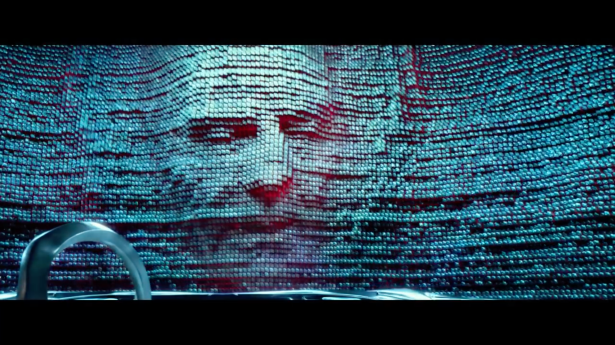
This effect looked very outstanding so I wanted to give it a try in After Effects.
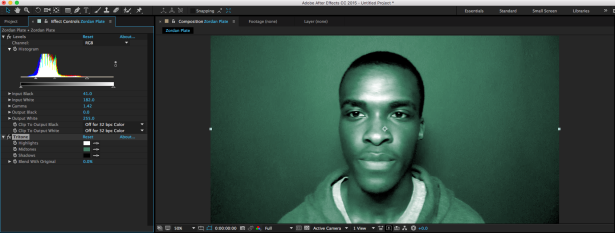
I started by filming myself in front of the camera and used movement to really make the effect stand out. If I stayed stationary, the effect would not really look right. Following up with importing my clip in After effects, I applied the effect called Levels because I needed my clip to look a bit darker and I selected another effect called Tritone so that the video has a night vision type of look.
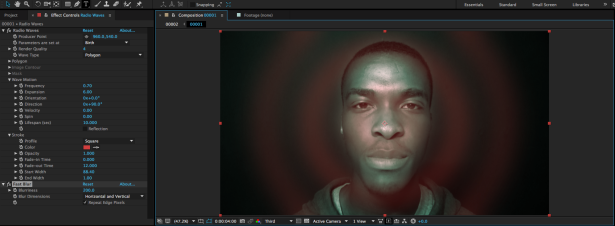
Secondly, I used the Radio Waves effect so that it is visible on the screen like a satellite signal icon. I decreased the frequency and increased the expansion so that the waves will emit more and I expanded the start width on the stroke section of Radio Waves. This gave the waves more thickness. After that, I added Fast Blur so that it is not as visible, if it were to remain like this, the waves would make it harder to notice anything.
Thirdly, I duplicated my clip’s layer and masked only my face on the copied layer, so that my head will stick out better. I used a glitchy, video overlay over my effects and changed the mode to multiply.
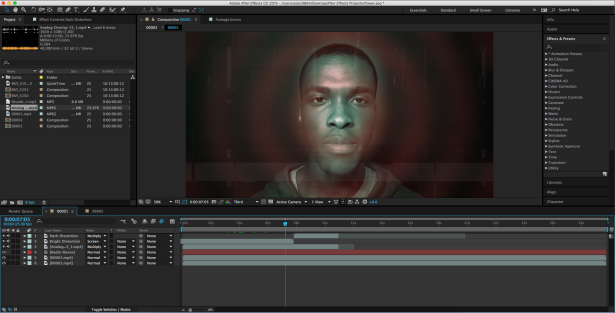
Now to make it look distorted, I used the effect called Card dance, increased the amount of rows to 215 and the columns to 300.
Here is final result
Experiment 2:
In my next experiment I wanted to see if I can make my video footage a bit cartoonish. I grabbed random footage that I have recorded of myself and I rendered it in a JPG file via After Effects. I dragged the JPG file in Adobe Illustrator and applied the image trace effect on it. By pressing the Image Trace Panel, I was able to change to different styles and colours of my image by messing around with the Preset section, Mode section and Palette.
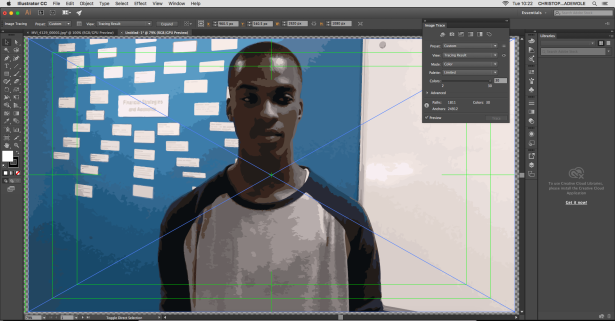
I found the style I wanted and changed saved it as a preset. After that, I opened Adobe Bridge and imported my picture. To apply the saved preset I did in Illustrator, I hovered above the tools section on the top, went to Illustrator and pressed Image trace. The Image Trace window popped up and I was able to apply my saved preset. I also had to change the format to Video and Film, the Width to 1920 and the Height to 1080 and pressed OK. This initiated the rendering process which took quite a while.
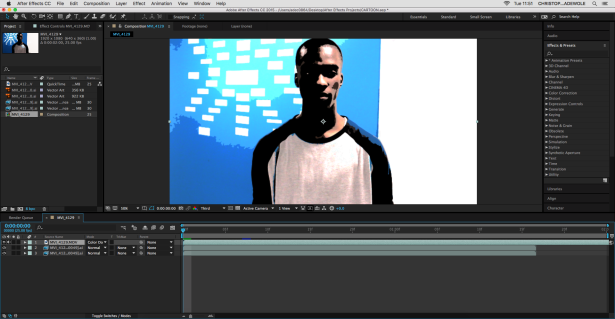
Then, I imported the stylised image onto After Effects, got a real image as well onto the timeline and messed around with different blending modes.
Experiment 3:
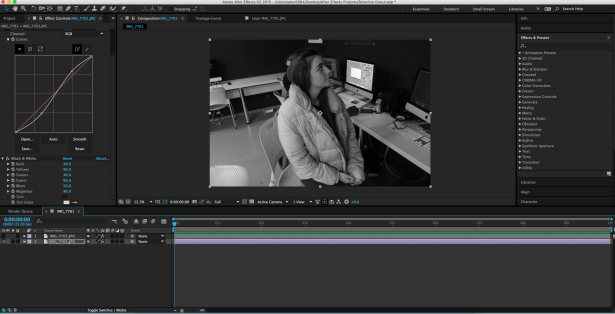
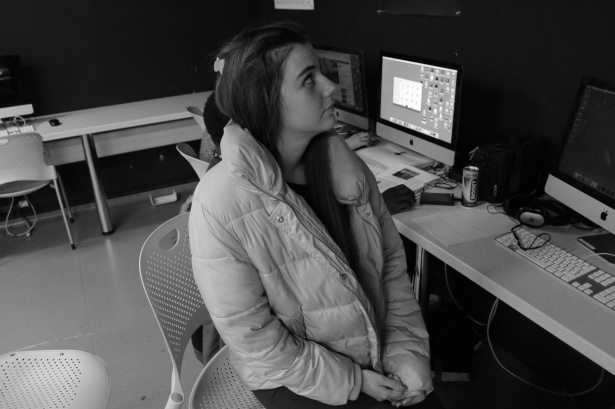
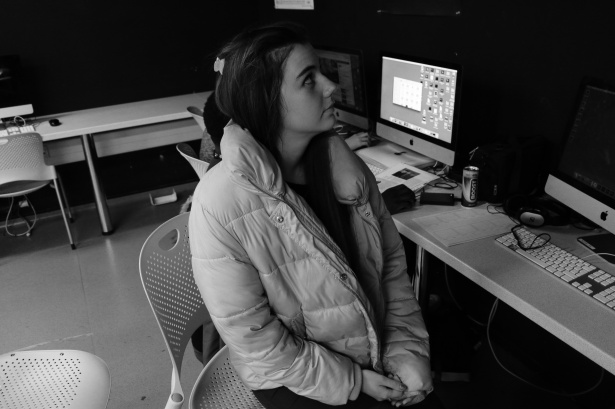
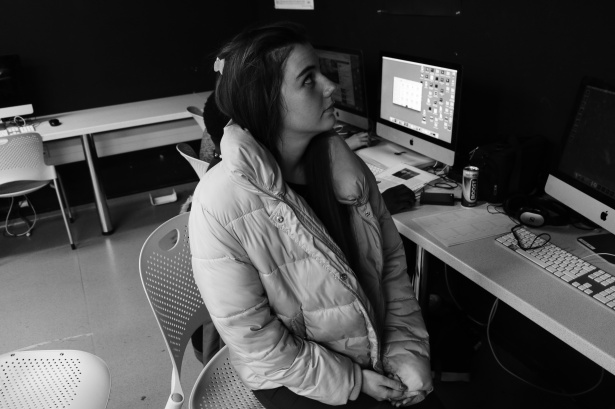
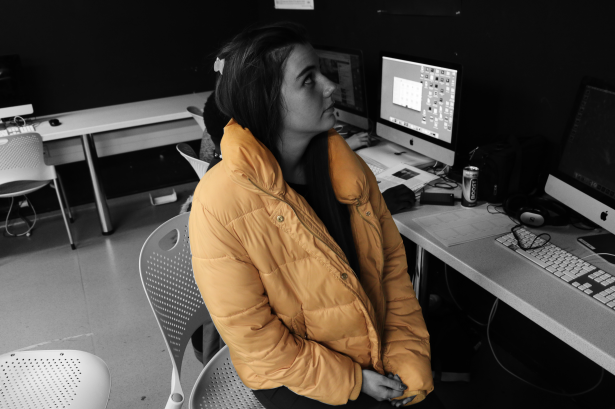
This effect is called Selective Colour and I was able to do this via After Effects and Photoshop. Selective Colour is where a majority of a photo is changed to black and white but some parts are in colour. I took the image in my classroom, on a DSLR camera to get it looking the best. I got the person in the picture to put on a pink jacket as she was wearing black and that would not work for this type of effect.

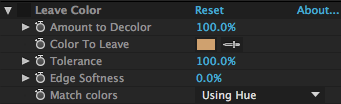
When I put the picture in After Effects I recognised how the lighting in this picture did not look good at all and that the pink jacket did not come out as pink as I thought it would. For this effect to work, you need vibrant colours and I wanted the jacket to be the only colour to be left. Even on After Effects, I applied Leave Colour effect to see what colour the jacket was emitting. it showed a peach type of colour.
Firstly, I applied the Black and White effect so that obviously it will convert the picture to black and white.
I did not really like how the Black and White effect looked, I wanted the contrast to be a little darker so I had to do something about that. I added Curves effect and messed around with it to give me this.
Before Curves:
After Curves:
I still thought it was not dark enough so I added the Tint effect just for it to be a little darker.
After Tint:
This was the type of contrast I wanted so I had to go onto the next step and make only the jacket to be vibrant with colour. I duplicated the picture layer and started masking only the jacket.
When I was finished, it perfectly showed me how the peach coloured the jacket was even thought the jacket is actually pink. Not vibrant at all.
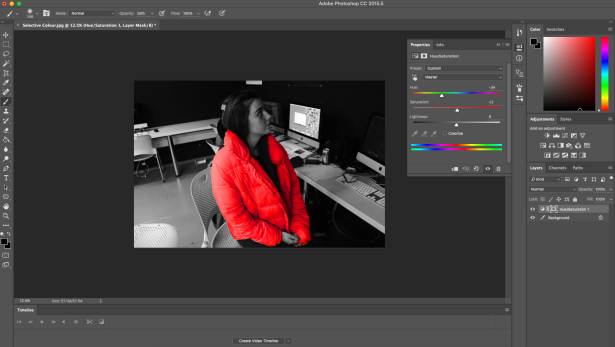
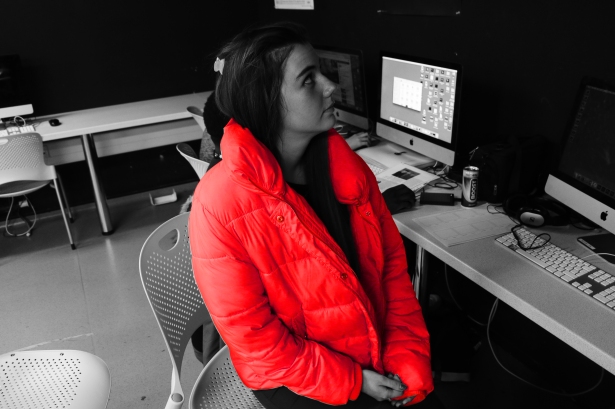
I rendered the file into a Photoshop file and opened Photoshop. I opened the Hue and Saturation adjustment and moved the slider to a red colour and the results came out stunningly.
Experiment 4:
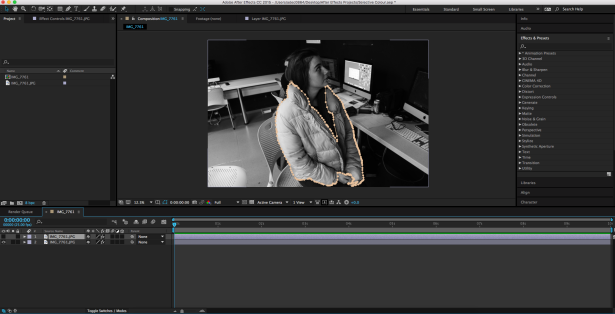
I tried out colour correction in After Effects as I’ll be doing colour correction in my actual skit. I needed footage where a person is in the centre of the camera so I was able to get footage from when I was filming a past project.
I applied a black solid and masked only the area the person was in and it made everywhere, outside this persons area, darken.
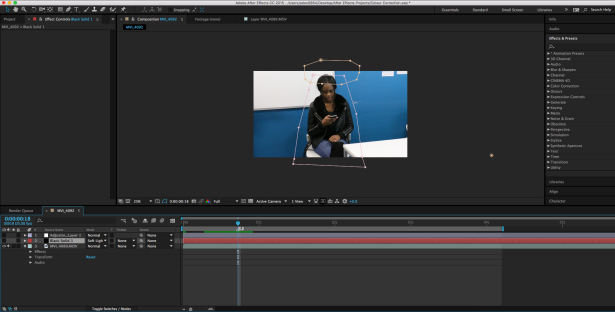
I used curves, messed around with it and came up with this.
